
How to adjust your Ring and Pinion
We can provide Parts and service manuals upon request!
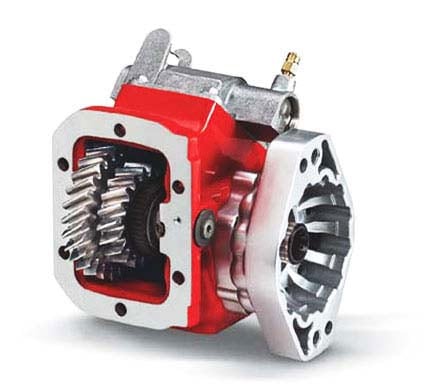
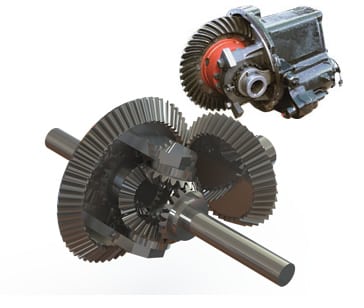
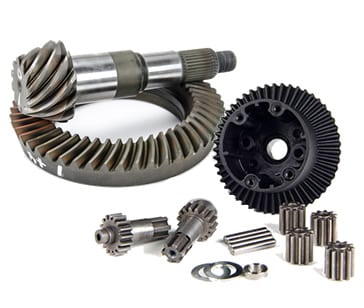
For reference, please use these images to properly adjust your ring and pinion unit.
As always your one stop truck stop has ring and pinions in stock. Make sure to check our inventory on our store. Not sure which gear set you have? Use our guide on how to identify your ring and pinion from the stamped ring-gear and pinion numbers before ordering parts.
This information is for medium & heavy duty trucks
The order in which adjustments are made during differential assembly and setup are:
- Pinion Bearing Preload
- Carrier Bearing Preload
- Backlash
- Gear Set Pattern (Pinion depth)

The above schematic outlines the surfaces of a typical gear tooth and how they are generally referred to.
Pattern Adjustment Cause & Effect
Use adjuster nuts to move the ring gear closet to the pinion to decrease backlash.
- Use adjuster nuts to move the ring gear farther from the pinion gear to increase backlash.
- Subtract shims to move the pinion closer to the ring gear to move the drive pattern deeper on the tooth (flank contact) and slightly toward the toe. The coast pattern will move deeper on the tooth and slightly toward the heel.
- Add shims to move the pinion farther away from the ring gear to move the drive pattern toward the top of the tooth (face) and slightly toward the heel. The coast pattern will move toward the top of the tooth and slightly toward the toe.
Remember Your Shim Combination
When it comes to shim selection use the same shim combinations from the previous assembly as a baseline with reassembling the differential.
Seal Surface Preparation
It is wise to polish all seal surfaces with fine-grit emery cloth or sandpaper the wipe all surfaces with a clean rag dampened with either fresh oil or solvent to remove any metal particles.
The Importance of Using Assembly Oil
When assembling internal components, coat all bearings surfaces with fresh gear oil or a little light grease, just enough to make them lubed. Coat all seals with grease.
Adjusting the differential case bearing preload
Move both adjuster nuts towards each other until snug. Tap on caps to seat the bearings. You want the bearings to have a slight to moderate preload, too tight will spread the caps and you won’t be able to get the differential into the axle housing.
Final Backlash Adjustment
To start, tighten the pinion nut so there is a preload on the bearings, the differential bearing preload already achieved. Fasten a dial indicator to the lip of the carrier so its contact point touches a tooth at the outermost diameter of the ring gear in a 90-degree relationship to the tooth face. The indicator should measure the amount the ring gear moves when rotated back & forth. To measure backlash, prevent the pinion gar from rotating and rotate the ring gear back and forth. The amount the ring gear can move (the amount of play) determines the amount of backlash. You want .010 – .012 backlash on a new gear set. You want .010 – .014 on a used gear set – determine this .010 – .014 by turning the ring gear at the quietest point.

Click image to view larger
Checking the pattern
With the pinion nut tight, the backlash set to .010 – the cap bolts tight.
Install Prussian Blue or a light pattern grease with a small paint brush to both the Drive side and the Coast side of three consecutive teeth. Rotate the ring gear at least three times in each direction allowing the ring gear teeth with the Prussian Blue to access the Pinion teeth so it makes a contact pattern in both directions. Adjust according to this chart.

This is the proper or desirable pattern. Note how the pattern is centered on the tooth from Face to Root. There should be some clearance between the pattern and the top of the tooth (Face) and between the pattern and the bottom of the tooth (Root)

This gear pattern depicts a pinion that is too far away from the ring gear centerline. Use shims to position pinion closer to the centerline.

The gear pattern indicates the pinon is too close to the ring gear centerline. Use shims to the ring gear centerline. Use ships to position pinion away from the centerline.
Call Today & Receive Your Parts Tomorrow
- Rebuilt Differentials
- Installation Kits
- Positraction and Lockers
- Ring & Pinion Gears
- Spools & Mini Spools
- Cases & Spider Gears
- Pinion Yokes
- Bearing Kits
- Seal Kits
- Axle Shafts
- Performance & Race Parts
- Differential Covers
- Parts & Accessories
- Axle Bearing Kits
- Gears
- Drivelines
- Shafts
- Third Members
- Brake Kits
- Cylinders
- Housings
- Bearings
- Setup Tools
- Oil & Additives
- Gears Sets
- Crown & Pinions
- Shift Levers
Check Out Our Online Truck Parts Store